
Welcome to GrowhtHub Knowledge Base Hub
Welcome to GrowhtHub Knowledge Base Hub
Setup Email
Setting up a dedicated email domain in GrowthHub ensures better inbox placement, higher deliverability, and a stronger sender reputation.
Steps
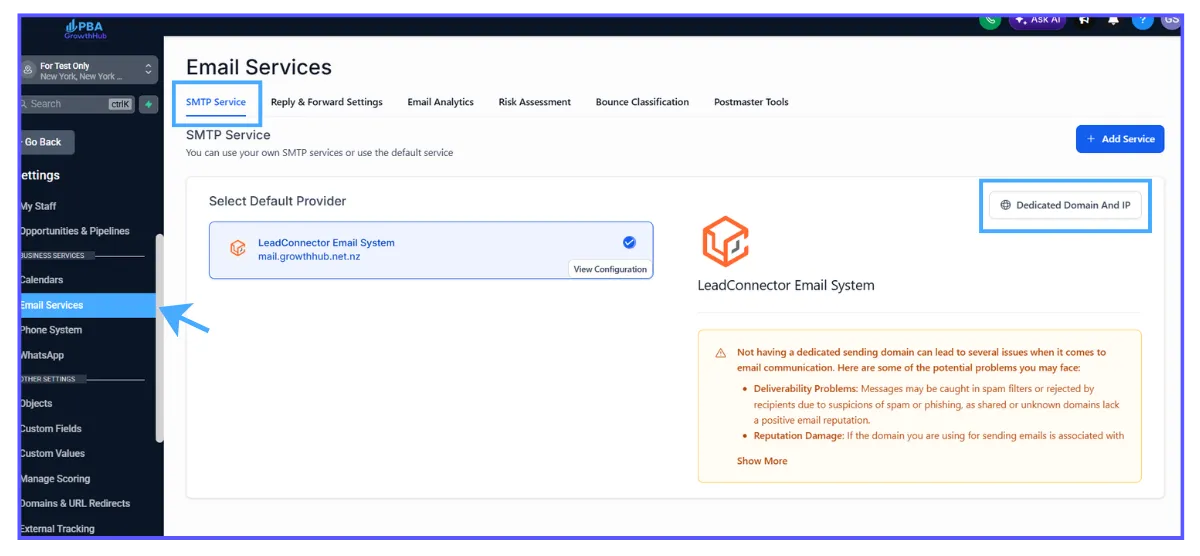
1. Navigate to Settings → Email Services.

Steps
2. Click Dedicated Domain and IP.
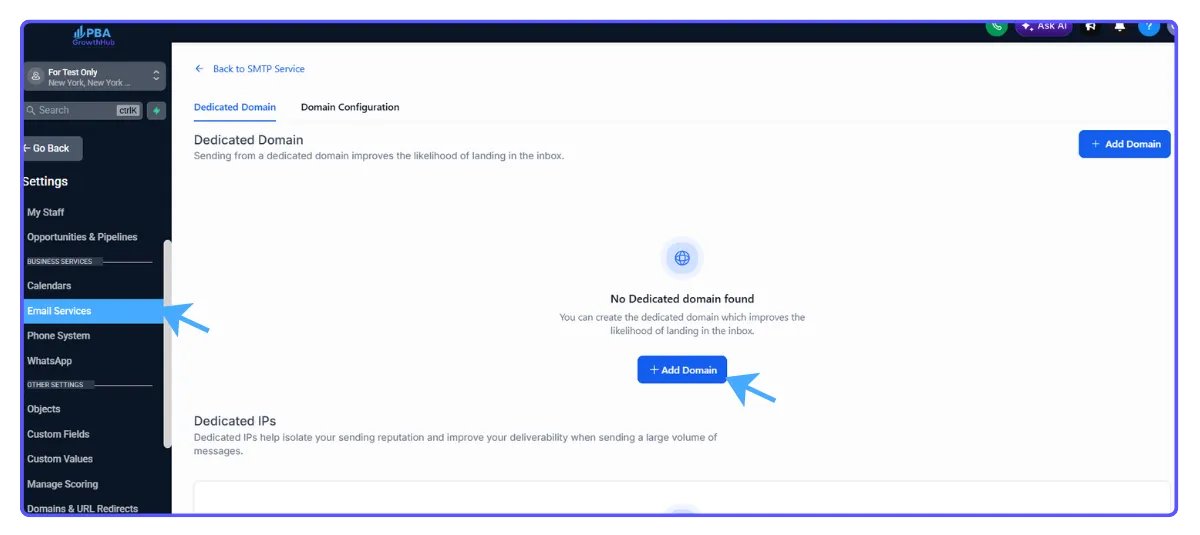
3. Click Add Domain.
Steps
4. Enter your subdomain (for example, lc.mydomain.com) and click Add & Verify.
5. Follow the on-screen DNS record instructions from your registrar.
6. Click Verify Records once the updates are complete.
7. Click the 3-dot menu → Set Headers.
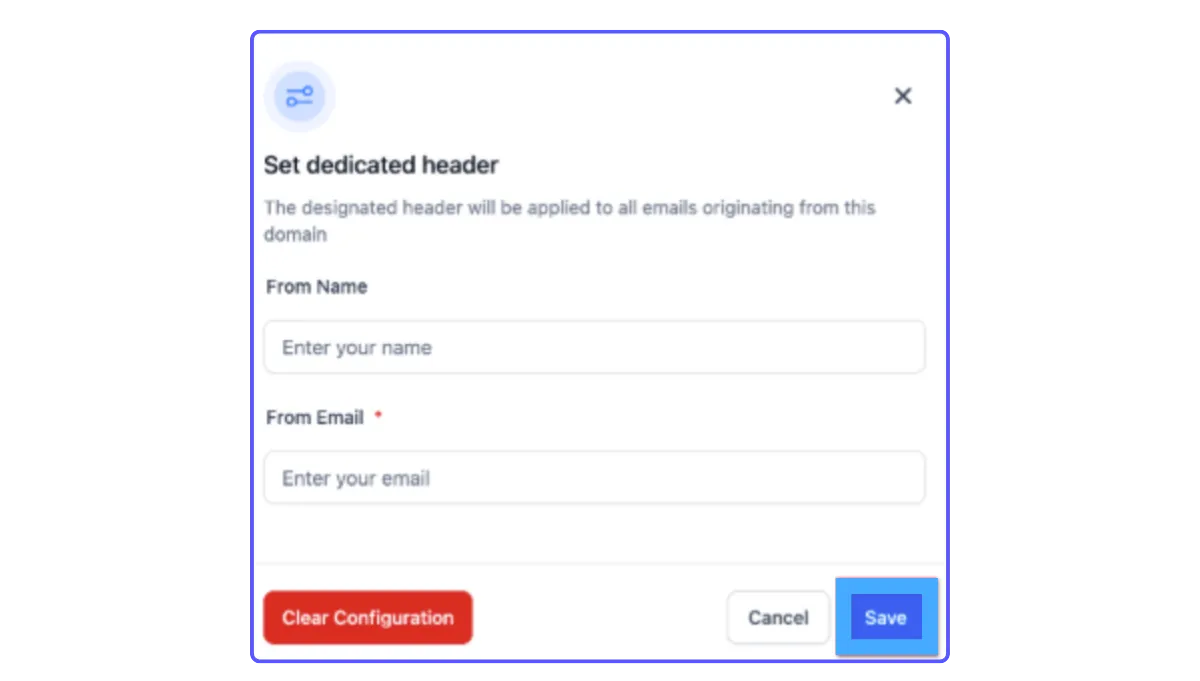
8. Enter your From Name and From Email, then click Save.
Your email setup is now complete and ready for verified sending in GrowthHub.
Setup Email
Setting up a dedicated email domain in GrowthHub ensures better inbox placement, higher deliverability, and a stronger sender reputation.
Steps
1. Navigate to Settings → Email Services.
Steps
2. Click Dedicated Domain and IP.
3. Click Add Domain.
Steps
4. Enter your subdomain (for example, lc.mydomain.com) and click Add & Verify.
5. Follow the on-screen DNS record instructions from your registrar.
6. Click Verify Records once the updates are complete.
7. Click the 3-dot menu → Set Headers.
8. Enter your From Name and From Email, then click Save.
Your email setup is now complete and ready for verified sending in GrowthHub.